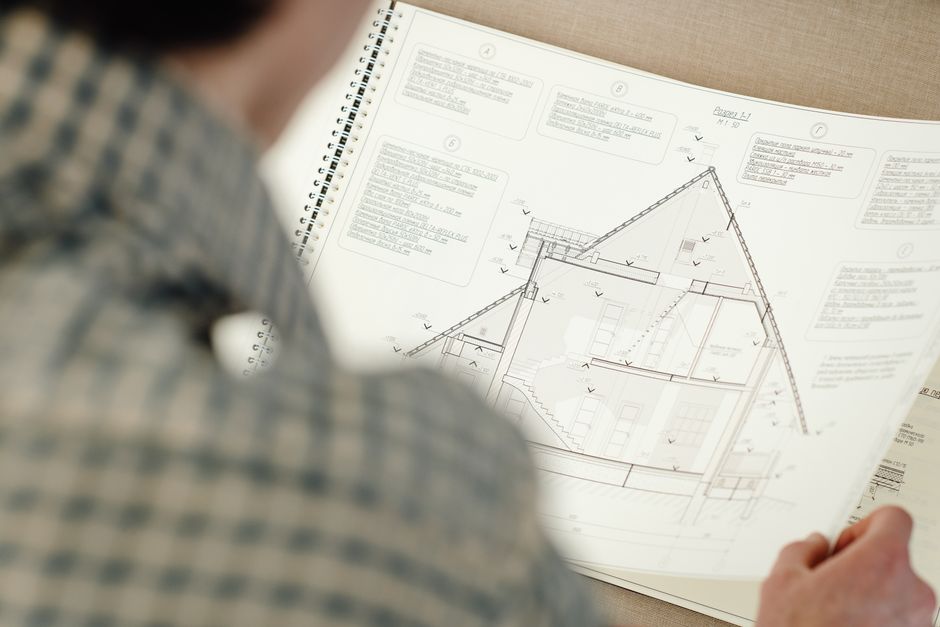
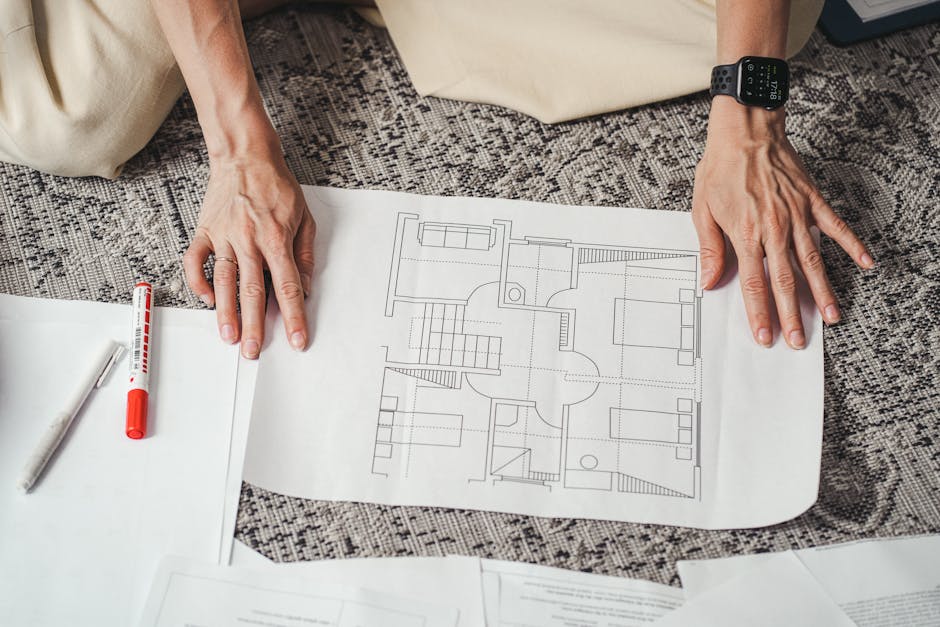
Hey guys alex here from sketchup school and today i’m going to show you the key things you need to know before getting started with layout for sketchup pro you already know sketchup’s an amazing tool for bringing your design ideas to life in 3d but if you’re like so many of the design professionals and architects who sign up to take our courses you may be a bit unclear on how to create the 2d documents you need from floor plans to elevations to shop drawings presentations even full-fledged construction documents the good news is you don’t need to learn autocad or deal with the hassle of hiring a drafts person to create these documents for you because sketchup pro comes bundled with layout and you can use layout to create all these types of 2d documents and more today.
We’ll cover the fundamentals of how layout and sketchup work together the right way to work between the two programs and the key things you need to do to avoid the frustrating mistakes that often trip people up when they’re new to layout to do that i’ve created a list of the seven critical things you need to know before you get started with layout and stick around to the end of the video because i’ll throw in a bonus tip to help you streamline your sketchup to layout workflow alright let’s jump into the list starting with number one how layout and sketchup work together layout is a standalone program that comes with sketchup pro and works in conjunction with sketchup and as i mentioned it comes with.
 A robust set of tools that can help you take your 3d sketchup model and create all the 2d documents that you’d previously needed a drafting program like autocad to create it even allows you to create presentation documents similar to programs like adobe illustrator or indesign but how exactly do layout and sketchup work together the key is what layout calls a viewport which allows you to reference a view of your sketchup model directly in layout then you use layout’s documentation tools to add things like dimensions labels and text now we’ll go into more detail about how to best set up and use viewports as we get further into this video but for now here are the fundamental steps for getting started first and foremost you always want to start with a well-organized sketchup model then.
In sketchup under the file menu click send to layout layout will launch and you’ll be asked to pick a template which includes your paper size whether or not you can see grid lines and whether you want to start with any graphical elements on the page such as a title block for this example we’ll go with a plain paper template layout will start a new file using that template which will include a viewport that’s linked to the sketchup file that you just sent over as you create more pages in layout you can set up as many viewports as you need in order to show different views of your sketchup model it all sounds easy enough but there’s more to that first part in sketchup than most people realize and that’s where the next tip comes in number two create scenes before viewports okay you’ve sent your model to layout you’ve got a viewport showing you the view you want and now you’re eager to use layouts tools and features to document your design but wait here’s the problem.
And it’s hands down the biggest problem most our students run into when they first try to learn layout seemingly out of nowhere layout will suddenly switch what you see in your viewport messing up all your annotations in the process as it turns out layout’s just doing its job what do i mean by that well unless you tell it otherwise layout’s job is to show you your last saved sketchup view which means if you go back to work on your sketchup file and save it the viewport and layout will automatically update that’s great for design changes but bad when it messes up your viewport and layout so how do you make this work for you rather than against you it all goes back to having a well organized sketchup model which in this case means setting up scenes ahead of time that represent the exact views you’ll want to see in your layout viewports later once you’ve got your scene set up in layout right click on your viewport to assign the appropriate sketchup scene and repeat for all the viewports and corresponding scenes.
In your document now any design changes you make to your sketchup model.
Will automatically carry over to layout without messing up the views you need pretty cool right all right before we get too far i wanted to mention that i’ve gone ahead and put together some notes that will make it easy for you to review everything we’re covering i’ve added a link to download them in the cards okay next in order to help you set up your scenes for layout the right way let’s talk about number three get the right camera views let’s say you want to set up a plan view in sketchup trying to do that using the regular navigation tools is not only frustrating it’s impossible so what’s the right way to do it the answer lies in your camera menu there you can jump directly to a top down view without having to try to orbit to one manually now by default your sketchup camera will be in perspective mode to get a more traditional 2d plan view under the camera menu click on parallel projection which will give you an axonometric view with perspective turned.
 Off then you can use pan and zoom to frame your view this will be the same framing you’ll see in your layout viewport later once you framed your view be sure to save your scene but wait this isn’t quite a floor plan view just yet that’s where the next tip comes into play number four give each active section cut its own scene whether you need to show a floor plan or a cross section you’ll need to add a section cut to your sketchup model here’s the problem once you add a section cut it’s tricky to get it to show up when you need it and disappear when you don’t and when you’re working with multiple section cuts isolating the one you want to show can be even more of a headache so how do you avoid this to get to the answer let’s talk about best practices for setting up a section cut when you add a section cut it will be the active cut to get a view perpendicular to the cut right click on the section plane and align your view to that plane.
And be sure to hide the plane if you no longer need to see it then pan or zoom as needed and save a new scene or update an existing scene if you’re already working with one and be sure to repeat this process for each section cut if you create scenes for your section cuts as you add them you’ll make your life way easier later when you need to navigate between active cuts your future self will definitely thank you that’s nice alright you’ve added your section cuts and created scenes for each one now you may find that you need to adjust which elements of your drawing are visible depending on the scene that’s where the next tip comes in number five use tags the right way when you’re in layout setting up your viewports you’re going to need scenes that show specific things in your model and hide everything else to do that you’ll need to organize your sketchup model with tags tags allow you to hide and show different elements in your model by default.
All the edges and faces you draw start off as untagged as you create and assign new tags in your model here are three simple rules to follow first never ever touch the active tag it should always be untagged if you do you’ll ruin your sketchup file and eventually have to start over your future self will definitely not be happy second make sure you only assign tags that you’ve created to groups and components and not to individual faces and edges as you remember from our getting started with sketchup video you should turn everything into a group or component to avoid the serious headaches that can result from leaving your geometry ungrouped assigning tags to ungroup geometry is no different it’ll come back to bite you later when you’re trying to show or hide specific elements and third plan ahead in sketchup and create tags for the things you know you’ll need to hide or show later in layout then you’ll be able to quickly turn those tags on or off and save your scenes,
So they look great in your layout viewports of course it can take a lot of time and practice to develop methods for organizing and tagging your sketchup models to work best for you we don’t have time to go over all the do’s and don’ts in this video but you can check out our layout for sketchup course if you want to dive deeper into our recommended strategies alright our next tip answers the question i get asked the most by people that have tried to learn layout on their own where are my line weights number six control line weights via styles line weights are hands down the biggest mystery for people that jump right in and start trying to make things happen in layout in fact the only mention of line weights and layout is this setting right here and when you click it it doesn’t do what you’d expect so how do you control line weights well the answer actually lies in sketchup and not in layout in sketchup the styles window is where you go to control whether you see materials flat colors or just a white model as well as where you control the background colors.
You see but it’s also where you’ll be able to set the stage for controlling your line weights later in layout for any scene you can have essentially three line weights one for your edges one for profiles one for section cuts the numerical values you assign to the thickness of the lines are ratios so edges have a built-in value of one and it’s up to you to decide whether the other line weights are two times three times or however many times thicker you’d like then in layout you can further refine things by dialing all the line weights up or down in thickness together now i know what you’re thinking i need more than three line weights not to worry there’s more to this tip it’s true when you set your three line weights for a style and save your scene the linked viewport and layout will be constrained to those three line weights but you can stack more than one viewport on top of another in layout that means you can have as many line weights.
As you’d like and while this may feel like a workaround it does actually allow for some other powerful viewport stacking effects once you get the hang of it alright let’s move on to the next tip number seven draw some 2d symbols in SketchUp in layout you’ll likely need to show 2d symbols that represent objects in your design like door swings or furniture symbols if you’re like most self-taught students i run into you might make the mistake of drawing them using layout’s tools but what if you need to reposition things in your drawings or worse you have to make design changes in the SketchUp model it can turn into a real mess okay you may already see where.
 I’m going with this one right sometimes it’s best to draw your 2d symbols in SketchUp first and group them with their 3d counterparts then remember what we discussed back in tip number five now is a perfect opportunity to use tags to your advantage by creating separate tags for 2d symbols and 3d objects you can show only the 2d symbols when you need them such as in a plan view and hide them when you don’t such as in a perspective view let’s use a door for example first find or create a 3d door model next draw the 2d door swing symbol and make it into a group then create a 2d symbols tag and assign it to the door swing group and create a 3d objects tag and assign that tag to the 3d door group next group the 3d door and 2d door swing together into a parent group that you can move and position together in your design for any plan view scenes toggle on the 2d symbols tag so it’s visible and hide the 3d objects tag and for perspectives and elevations do the opposite so only the 3d elements are visible in layout.
You’ll get the 2d symbols when you need them but what’s more your drawings will remain accurate if you make changes to your design like moving the placement of a door since the 2d symbol will change places too fancy that tip be sure to give this video a like alright we’ve covered the seven critical things you need to know before you get started with layout for SketchUp pro but remember.
I’ve got a bonus tip for you that can further streamline your SketchUp to layout workflow name your groups and components in layout you’ll use the label tool to name things in your drawings if you have a lot of things to label that can mean a lot of typing and plenty of chances to make mistakes so what’s a better way to do this back in SketchUp when you make groups and components take the time to name them properly for components you name them when you make them for groups you name them in the entity info window then when you’re working in layout the label tool will automatically display the name from SketchUp without you having to type it over and over again this can be a huge time saver of course there’s a lot more to working with layout that we couldn’t cover in this video if you can’t afford to waste time or pick up bad habits i recommend checking out our video course library it’s filled with 8 700 worth of SketchUp courses exclusively for professionals including our comprehensive layout for SketchUp course head over to the SketchUp school website.
And try our courses for free and if you’re not ready to try one of our courses just yet check out one of the videos on this playlist until next time happy sketching dear past me i just wanted to send you a quick thank you for everything especially those SketchUp tips about section cuts and scenes yours truly your future self-one more piece of advice from the future subscribe to our channel that’s nice.
https://www.skool.com/signup?ref=e594d8b6cd014a5cb1f8ebac7a06d0ab

Discover the Inspirational Journey of Jose Amoros
I hope this message finds you well. I wanted to introduce you to a compelling narrative that might inspire and resonate with you: “Biographical Info de Jose Amoros.”
Jose Amoros, renowned for his innovative contributions and profound insights, offers a remarkable story of perseverance and achievement. His journey is a testament to the power of resilience and vision, illustrating how dedication can transcend obstacles and lead to impactful success.
Diving into Jose’s biography unveils lessons on leadership, creativity, and transformation—elements that are essential in today’s fast-evolving landscape. Whether you’re looking for motivation, new perspectives, or inspiring stories, Jose’s experiences can provide valuable takeaways for your own endeavors.
I’d love to discuss how his journey can inspire and benefit [https://website.ws/yosekbaez60/] as you navigate your path toward continued success. Are you available for a brief call this week?
Looking forward to the opportunity to connect.
Best regards,
Discover more from The most effective and simplest marketing techniques!
Subscribe to get the latest posts sent to your email.