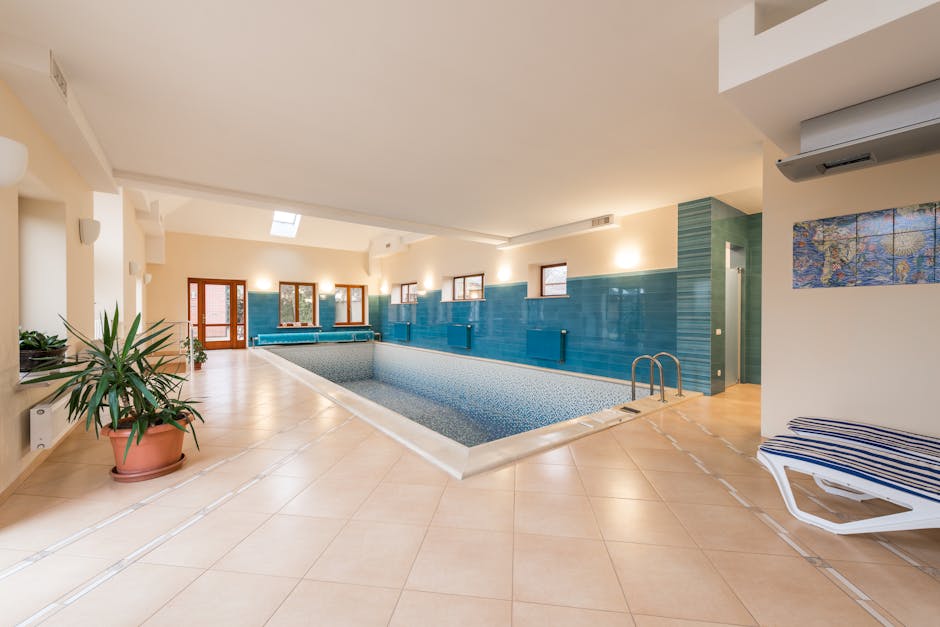
Is your pool water green. Well, the good news is you don’t have to drain your pool and start over to get rid of it. Here’s a quick guide on how to kill pool algae fast and keep it from coming back. Let’s dive in. Real quick, before we continue, if you want more help taking care of your pool, be sure to grab our free pool care cheat sheet at SwimUniversity.com/Cheat Sheet. It’s totally free and will help keep your pool clean and clear all season long. First, why do I have a green swimming pool? Well, the culprit for green water is pool algae. If it’s light green, the algae is likely just starting to take hold, but a deeper green means you have a bigger algae bloom problem.
Green algae happens when your chlorine levels are too low. When your chlorine levels are low, your chlorine can’t sanitize the water, and algae can start to develop.
 Algae can also grow if your pool filter hasn’t been running properly and the water hasn’t been passing through your filtration system. If you’ve added chlorine and you’re running your filter and the algae just won’t go away, here’s how to fix green pool water fast. Make sure you follow every step in order to make sure you’re as efficient as possible.
One, brush the pool walls and floor. Attach a pool brush to a telescopic pole and scrub the pool walls, floor, steps, and any surface the algae might be clinging to.
The goal is to get the algae floating in suspension in your pool water, giving the chlorine a better chance to kill it. If you have a concrete pool, it’s best to use an algae brush. Algae is tough and will stubbornly cling to the pool surfaces, especially porous concrete so a heavy duty brush works better than soft nylon bristles in this case.
Two, test your alkalinity and pH. Using test strips or a liquid test kit, test the pH and alkalinity levels.
Your pH should be between 7.4 and 7.6.
It’s okay if it’s a bit lower since you’ll be adding shock later that actually raises the pH. Your total alkalinity should be between 100 and 150 parts per million. Again, it’s okay if this is a bit lower. If your pH and alkalinity are too high, now’s the time to adjust them. Start with lowering your alkalinity first, which should bring your pH down in range.
Then, retest your water. And if needed, adjust your pH afterward. Adjusting your pH and alkalinity at this stage will ensure the shock treatment will be as effective as possible.
Also, testing your water can happen before brushing. It won’t affect the algae killing process.
And if you need more help balancing your pH and alkalinity, be sure to check out our other video on pool water chemistry. Three, shock your pool with chlorine to kill algae. This is the most important step in clearing up a green pool because shock is what kills the algae. Pool shock contains a high level of chlorine that will kill algae and sanitize your pool water. For the best results, use a calcium hypochlorite shock AKA cal-hypo shock that contains at least 70% available chlorine.
If you usually use a non-chlorine shock, you must use a chlorine shock to kill algae. Non-chlorine shock just won’t work to get rid of algae spores. And keep in mind, it’s best to shock at night. Otherwise, the sun can burn off the shock and it will be less effective.
So how much shock do you need to kill the algae in your pool?
It depends on the color of the algae. A normal shock treatment is one pound of shock per 10,000 gallons of pool water. But that’s if your pool isn’t green. If your pool is a light green, you’ll need to add double the shock to your pool water. If your pool is dark green, you’ll need to add triple the amount.
 And if your pool is black, you’ll need to quadruple shock your pool. For example, if you have a 20,000-gallon pool or about 7,500 liters and your water was dark green, you’ll need six bags of shock. That’s a triple dose. If you need more help about how to add shock to your pool water, be sure to check out our other video or run your pool filter for eight hours and shock again if needed.
As you let the shock work, run your filter system for at least eight hours overnight.
But if you can run the filter 24 hours a day until your pool is clear, this will help clear your water faster. If the pool is still green or teal in the morning, hit it again with the same amount of shock the following night. And by the next morning, it should be cloudy blue. In this case, cloudy water is actually a good thing. If your pool is cloudy blue, that means you’ve successfully killed all the algae and it’s floating in the water.
Keep your filter system running for at least 24 hours to get the dead algae out of the water and to ensure the shock has fully dissipated. If you winna speed up the process, you can use a pool clarifier to help clear the water more quickly. Or if you want a more powerful treatment to clear up the cloudy water, use a pool flocculant. Keep in mind that you’ll need to vacuum your pool after using this.
And it only works if you have a filter with a waste setting.
Five, clean your filter. Make sure you backwash your filter or change the cartridge after all the algae is gone. All that dead algae is caught in your filter medium so now it’s time to clean it. If you need more help on when and how to backwash your sand or DE filter, be sure to check out our other videos. Number six, test your water again and adjust your pool chemicals.
When your pool isn’t green anymore or you have cloudy blue or clear water, test your water again. This time, test for pH, alkalinity, calcium hardness, and your chlorine levels. And add chemicals as needed to balance things out. Once you made sure all your levels are where they need to be, you’re ready to enjoy your pool again.
So now that your pool is clear, how do you keep pool algae from coming back?
Well, the best way to keep algae away is keeping your chlorine levels in the right range. This means testing your water at least once a week or more often if you’re noticing fluctuations. If you noticed your levels are a bit on the low side, don’t wait for things to get worse. Add chlorine immediately. And if you have a salt water pool, make sure your salt water generator is keeping your chlorine levels consistent.
If you wanna take more preventative measures, you can also add algaecide during your regular pool maintenance.
But your best bet is to just stay on top of your chlorine levels. If you need more help with pool maintenance, grab our free pool care cheat sheet at SwimUniversity.com/CheatSheet. And if you found this video helpful, leave a comment, hit the like button, and subscribe for more pool maintenance tutorials throughout the season.
That’s it. Thanks again and happy swimming.
AI Hustlers Playbook Funnel https://warriorplus.com/o2/a/rdt5wgx/0

The post How To Clear A Green Pool FAST appeared first on Video marketing is a GREAT way to make money ….
 Let me show you what I learned. (bright music) Here’s the case that holds all of our parts. This metal curved bar is called the shackle. It won’t come out until the right combination is put in.
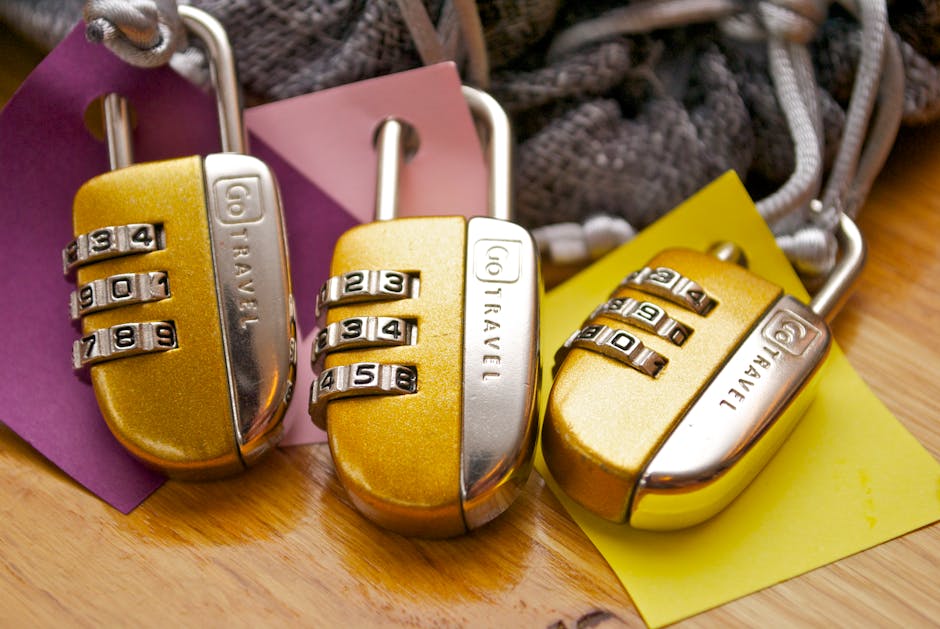 In fact, this is the first step to opening up the lock. Let’s walk through this process on the inside. This time we’re looking at it from the front, so all three cams will need to line up here.
 The mic itself is an ipx7 rating and was recently taken first bin in various wet environments by Linus in his full review here. Sennheiser is also working on a version of this mic for the Hero 5 that will be coming out soon.
 When transmitting the Free cast Universal has a range of 500 meters and can be powered via their rechargeable batteries or the USB input on each receiver and transmitter. Audios wise you can use audio going directly into your camera or for those who want to use an external microphone the free catch Universal Translator sports a 3.5 millimeter audio input allowing a wide variety of mic solutions currently on the market. Along with monitoring your camera from multiple devices the Free cast can stream live directly to different social media platforms; currently free cast only offers support for YouTube or Facebook, but the company says that they’ll be adding twitch and Instagram Live support among others when they do the full release of the Free cast Universal later this year.
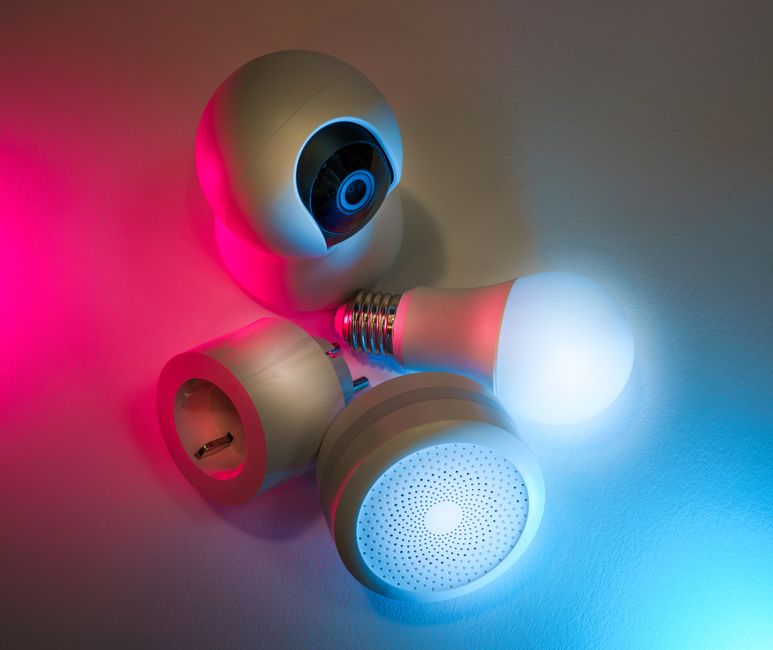 You can also buy additional batteries for fifty bucks, and you can buy standalone battery charger that allow you to charge up to two batteries for about 50 bucks as well. And they claim that you can get four to six months of use out of these batteries now that’s going to be affected by how often you have motion on that camera Each camera also comes with a built-in microphone and speaker which means that you can actually talk to the person on the other end of the camera and you can hear them so that’s really nice you can get two-way audio going. So these cameras are HD they do 720p they have built-in motion detection, night vision, and a 130 degree field of view so you can get a lot in the view of this camera. alright so onto the base station. The base station has two USB ports and you can actually use those ports to connect an external hard drive and you can actually store your recordings directly on a hard drive instead of relying 100% on the cloud.
 But the very first thing that I recommend for you to do is to actually adjust the video quality of the cameras to higher quality now this is going to affect your battery life but this is going to make your videos true 720p and the library section of the app is where you can actually view your recordings and you can choose to delete them or share them or download them if you want and the Arlo does come with 7 free days of cloud recording so you can get up to 7 days here for free and they do have different packages you can pay $100 a year for 30 days of recording or you can pay $150 a year for 60 days of recording.
 Now as I said, you can buy the charging station and additional batteries but if you want to do that, you’re pretty much looking at an additional $100. That brings me to my next thing which is the price now these things are not cheap now you definitely paying for convenience here so you’ve got the cheapest option for the Arlo Pro, which is about $250 for a 1-Camera system all the way up to the 4-Camera system which is what i have here and this cost $650 so once you start adding things like the charging station extra batteries it can definitely get really pricey.
 Call a professional to fix the problem right away! Another frequent cause of home fires is simply carelessness. Flammable liquids such as alcohol, gas, aerosol, and lighter fluid should be removed from your home and handled as little as possible. If a flammable item must be kept in your home, keep it out of the reach of children and pets.